POP Module 3 - Site Selection
Deployment and Mobility
Master safe hitching procedures, site selection criteria, trailer deployment, relocation processes, and safety protocols
Learning Objectives
By the end of this module, you will be able to:
Safely hitch and unhitch the POP trailer to/from a tow vehicle
Select appropriate deployment sites based on line-of-sight and coverage requirements
Deploy stabilizing jacks and raise the telescopic mast
Execute relocation procedures when moving POPs between fields or centers
Follow safety protocols to prevent injury and equipment damage
Complete Deployment Process
Step-by-step procedure from arrival to operational status
This comprehensive procedure covers the complete deployment sequence from site arrival to operational connectivity. Allow 2-3 hours for initial deployment.
POP Trailer Deployment Procedure
Step-by-step field deployment guide • Total Time: 80-140 minutes
Phase 1
15-20 min
Phase 2
10-15 min
Phase 3
15-20 min
Phase 4
10 min
Phase 5
30-60 min
Phase 6
15 min
1
Phase 1: Site Preparation
15-20 minutes✓
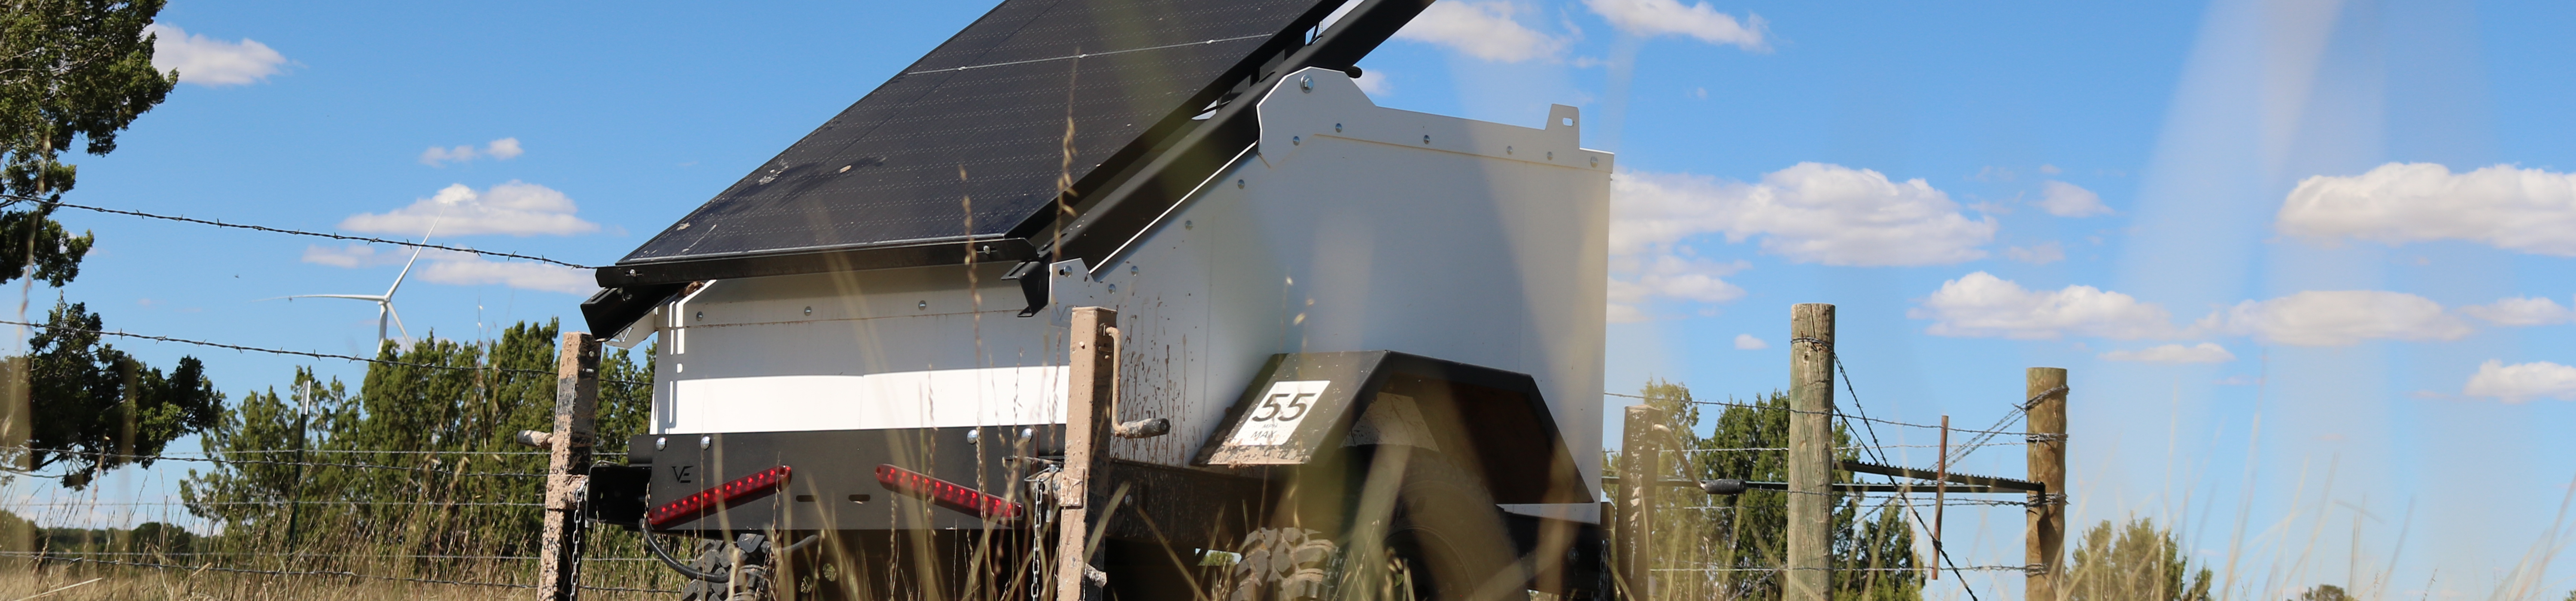
Position trailer at selected site
Back trailer into final position, oriented so LiteBeam will face toward hub building. Use compass or GPS bearing if needed.
✓
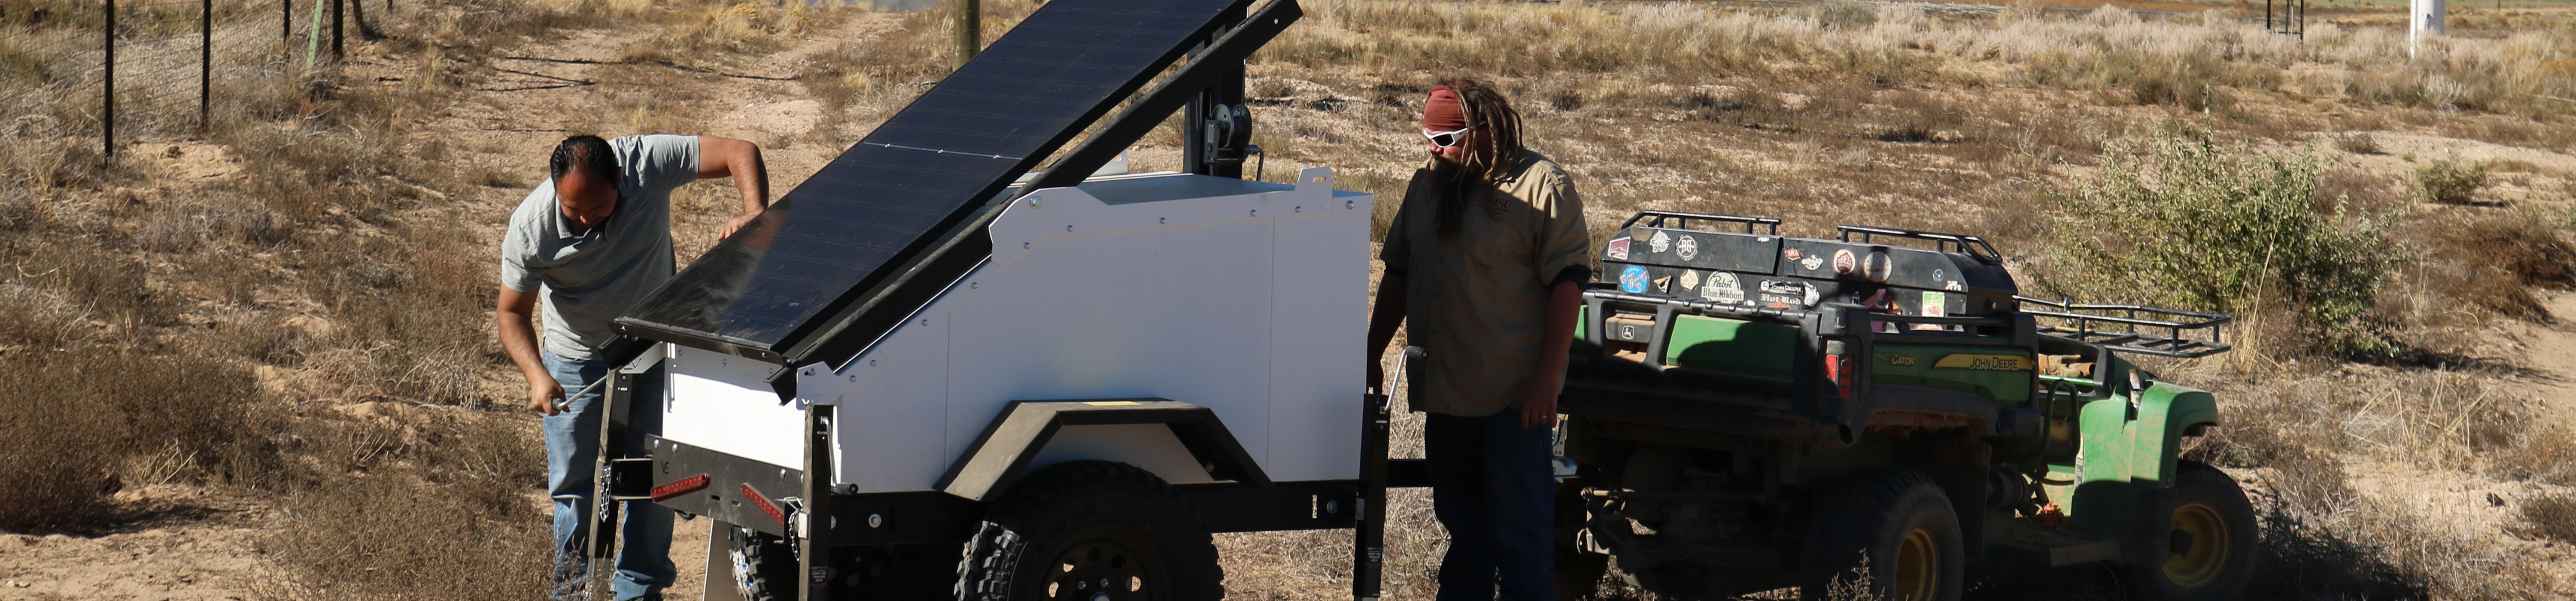
Unhitch trailer from tow vehicle
Follow unhitching procedure (see Hitching Procedures tab). Place wheel chocks.
✓
Check levelness with bubble level
Trailer should be within 2-3° of level. If not, reposition or use boards under wheels.
2
Phase 2: Stabilization
10-15 minutes✓
Deploy all four corner stabilizing jacks
Lower each jack until it contacts ground. Then continue lowering evenly (rotate between jacks) until trailer lifts slightly off suspension. Verify stability by gentle rocking.
✓
Place jack pads if on soft ground
If soil is soft, place boards or pads under jack feet to prevent sinking.
✓
Remove wheel chocks (optional)
Once jacks are supporting trailer, chocks can be removed (trailer won't roll).
3
Phase 3: Mast Extension
15-20 minutes⚠️
Safety Warning
Always check for overhead power lines before raising mast. Maintain 50+ foot clearance from power lines. Contact with power lines is fatal.
✓
Verify overhead clearance (power lines, trees)
Visually scan area above mast. Mast will extend to 21 feet. Abort if any overhead hazards.
✓
Remove mast locking pin
Locate locking pin that secures mast in retracted position. Remove and stow safely.
✓
Operate winch to raise mast
Turn winch handle clockwise (typically) to raise mast. Raise slowly and steadily. Watch for cable binding or antenna cable snagging. Stop if resistance increases suddenly.
✓
Extend to full height (21 feet)
Continue raising until mast reaches full extension stop. Do not force past stop point.
✓
Secure winch and verify stability
Engage winch lock/brake. Gently shake mast base to verify secure extension. Mast should not wobble excessively.
4
Phase 4: Power System Activation
10 minutes✓
Open equipment enclosure
Unlock and open enclosure door. Verify no damage or moisture inside.
✓
Turn on main power switch
Locate main DC power switch. Switch to ON position. LED indicators should illuminate.
✓
Verify Cerbo GX powers on
Cerbo GX display should show boot sequence. Wait 1-2 minutes for full startup.
✓
Check battery voltage and SOC
View Cerbo GX display or connect via app. Verify battery voltage >12V and SOC >50%. If low, allow solar charging before proceeding.
✓
Verify network equipment boots
Wait 3-5 minutes for LiteBeam and access points to fully boot. LED indicators should show activity.
5
Phase 5: Wireless Alignment
30-60 minutesDetailed wireless alignment procedures are covered in Module 4: Wireless Alignment. Brief overview below:
✓
Connect to LiteBeam management interface
Use laptop or tablet to access LiteBeam configuration (typically via direct ethernet or WiFi AP).
✓
Physically aim LiteBeam toward hub building
Loosen mounting bracket. Point antenna in direction of sector antenna. Use alignment tools and signal strength feedback to fine-tune.
✓
Optimize signal strength (-50 to -65 dBm target)
Make small adjustments while monitoring signal. Lock mounting bracket when optimal signal achieved.
✓
Verify network connectivity and throughput
Test internet access from POP WiFi. Run speed test (expect 50-200 Mbps depending on distance).
6
Phase 6: Final Verification
15 minutes✓
Test WiFi coverage in target area
Walk around deployment site with mobile device. Verify WiFi signal strength and connectivity.
✓
Document deployment location
Record GPS coordinates, take photos, note any special considerations for future reference.
✓
Secure equipment enclosure
Close and lock enclosure door. Verify weatherproof seals are intact.
✓
Notify IT staff of deployment completion
Report deployment status, location, and any issues encountered. IT will monitor remotely.
Deployment Complete!
POP trailer is now operational and providing network coverage to the target area.
POP Solar Surveillance Trailer Training • Field Deployment Procedure