
POP Module 3 - Hitching Procedures
Deployment and Mobility
Master safe hitching procedures, site selection criteria, trailer deployment, relocation processes, and safety protocols
Learning Objectives
By the end of this module, you will be able to:
Safe Hitching Procedures
Proper hitching technique is critical for safe transport. Improper hitching can result in trailer separation, vehicle damage, or injury. Always follow these procedures exactly.
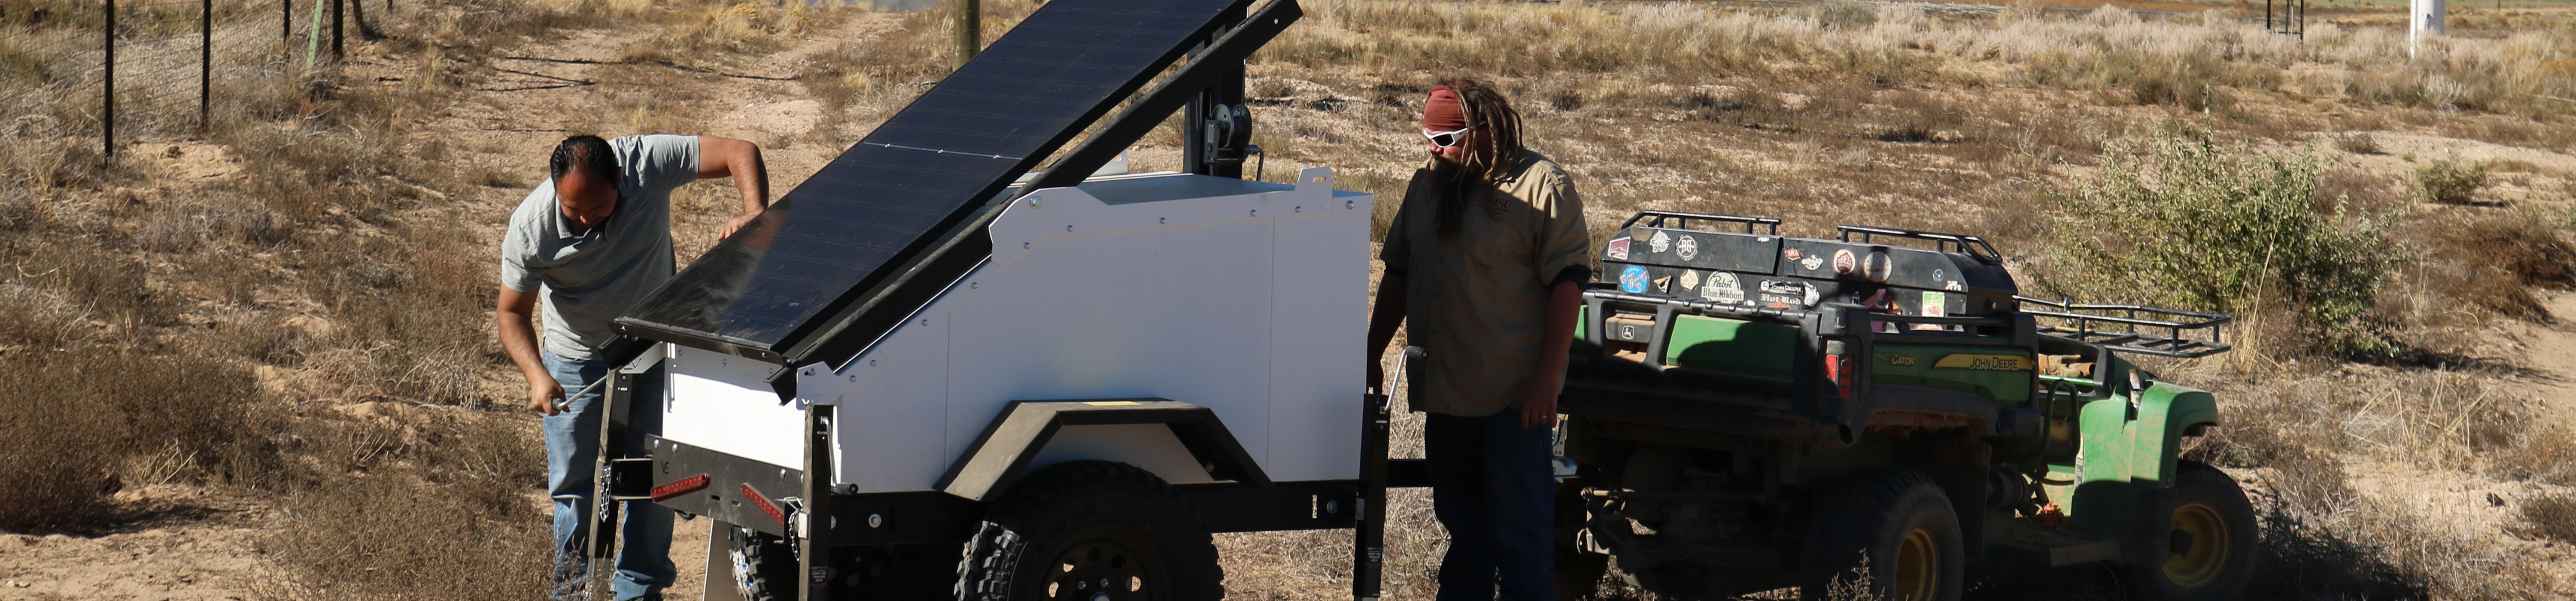
Hitching Procedure (Connecting Trailer)
Position Tow Vehicle
Back tow vehicle slowly toward trailer, aligning hitch ball with trailer coupler. Use spotter if available. Stop when ball is directly under coupler (within 6 inches).
Adjust Trailer Jack Height
Use trailer jack (front of tongue) to raise or lower coupler until it's slightly higher than the hitch ball. The coupler should be able to drop onto the ball easily.
Open Coupler Latch
Lift the coupler latch handle to open position. Verify the locking mechanism is fully disengaged and ready to receive the ball.
Lower Coupler Onto Ball
Crank trailer jack to lower coupler onto hitch ball. Continue lowering until coupler fully engages ball and some tongue weight transfers to vehicle.
Close and Lock Coupler
Push coupler latch handle down firmly until it clicks into locked position. Insert safety pin through latch to prevent accidental release.
Attach Safety Chains
Cross safety chains under trailer tongue and attach to vehicle hitch receiver hooks. Chains should be crossed in an "X" pattern to catch coupler if it separates from ball. Leave slight slack to allow turning.
Connect Electrical (if equipped)
Plug trailer electrical connector into vehicle receptacle. Test brake lights, turn signals, and running lights to verify connection.
Raise Trailer Jack
Fully retract trailer jack to maximum height. Secure jack in raised position with locking pin or clip. Jack should not contact ground during transport.
Perform Safety Check
Walk around trailer and verify: coupler locked, safety pin inserted, chains attached and crossed, lights working, jack raised, mast retracted, tires inflated, no loose items.
Final Verification Test
Before driving away, perform a "tug test": With vehicle in park and parking brake engaged, attempt to lift trailer tongue slightly. Coupler should be firmly locked to ball with no movement or play. If coupler lifts off ball, STOP and re-hitch correctly.
Unhitching Procedure (Disconnecting Trailer)
Position on Level Ground
Park trailer on level, stable surface. Engage vehicle parking brake. Place wheel chocks behind trailer tires to prevent rolling.
Lower Trailer Jack
Crank trailer jack down until jack foot contacts ground and begins to support tongue weight. Continue cranking until coupler lifts slightly off hitch ball (trailer is self-supporting).
Disconnect Electrical
Unplug trailer electrical connector from vehicle. Secure connector to trailer to prevent damage or dragging on ground.
Remove Safety Chains
Unhook safety chains from vehicle hitch. Secure chains to trailer tongue to prevent dragging when trailer is moved.
Unlock Coupler
Remove safety pin from coupler latch. Lift latch handle to unlock coupler from hitch ball.
Raise Coupler Off Ball
Crank trailer jack to raise coupler higher, lifting it completely off hitch ball. Continue until coupler is 3-4 inches above ball height.
Drive Vehicle Forward
Slowly drive tow vehicle forward, separating from trailer. Verify trailer remains stable on jack and does not tip or roll.
Deploy Stabilizing Jacks
If trailer will remain in this location, deploy all four corner stabilizing jacks for long-term stability (see Deployment Process tab).
Common Hitching Mistakes to Avoid
Failing to insert safety pin in coupler latch (latch can vibrate open)
Not crossing safety chains (won't catch coupler if it separates)
Leaving trailer jack down during transport (will drag and bend)
Skipping the tug test (may discover improper hitch after starting to drive)
Transporting with mast extended (clearance hazard, wind damage risk)